Convert OLM to PST file on Windows
This tutorial will guide you in converting the Outlook 2011 for Mac OLM files to PST to import into Windows Outlook 2007, 2010 , 2013 , office 365 with the help of OLM to PST Converter Pro on your new windows PC.
- You can download OLM to PST Converter Pro application from: http://www.olmtopstconverter.com/download-olm-to-pst-converter
- Choose the Download for Windows.
-
Your download will start automatically and you can find the file under “Downloads”
-
After the download is complete, click on the downloaded “OLM to PST Converter Pro Setup.exe” to begin installation.
-
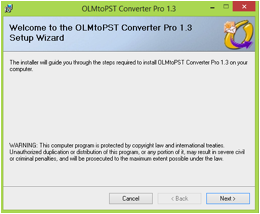
Olm to Pst Converter Pro setup wizard will open. Click on “Next”.
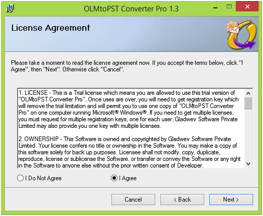
- Click on “I Agree” in order to accept the license agreement. Click on “Next”
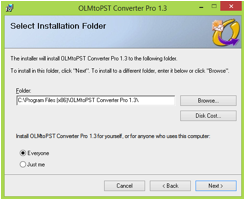
- Browse to select the Installation folder. Click on “Next”
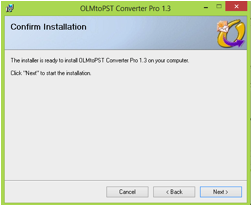
- Confirm Installation by clicking on “Next”.
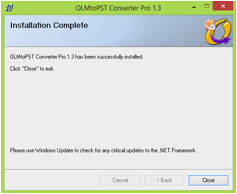
- The installation will start and when it’s complete you will receive an “Installation Complete” message. Click on “Close”
- You will find the application icon on the desktop. Click on the icon to open the application.
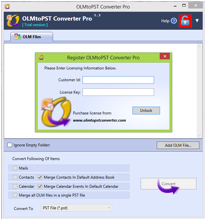
- If you have purchased the software click on the Register icon at the bottom to enter the registration details and Unlock the full featured application or else the trial version of application will convert only first 10 emails in each folder.
- Now you need the Olm files in order to convert them to PST files. You can export olm files from Outlook for Mac 2011.
- Follow these steps to export Olm files:
-
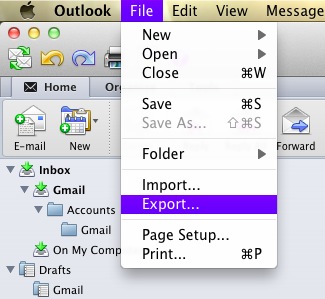
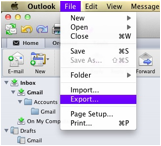
Open Outlook for Mac 2011.
-
Go to Outlook Menu >>File >> Export
-
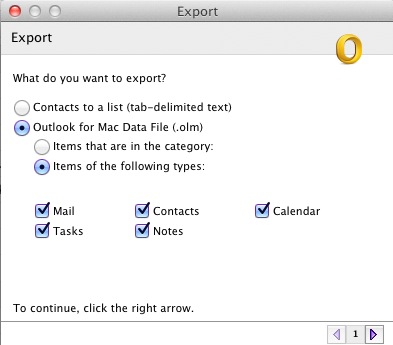
Select “Outlook for Mac Data file (.olm) and tick on the items that you want to export. And then Click on next arrow.
- Select the appropriate option whether you want to keep the email files after the export process or not. Click on next arrow.

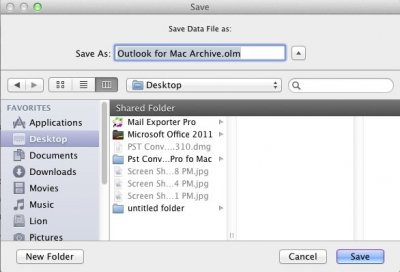
- Select the destination folder where you want to save the exported olm files. Click on “Save”
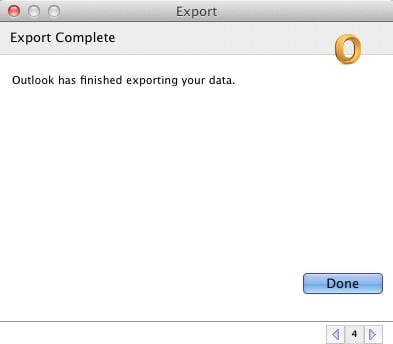
- The export procedure will start. You will see an “Export Complete” message after the export is complete. Click on “Done”
- Copy the exported olm file to this (windows) computer with the help of an external / Portable hard drive.
-
Now We need to Go Back to OLM to PST Converter PRo and click on “Add Olm File…”
-
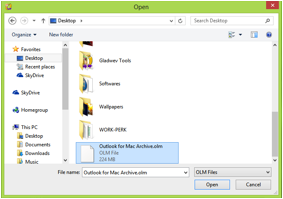
Select the “Outlook for Mac Archive.olm” file. Click on “Open”
- All your Mail folders will be displayed in the OLM to PST Converter Pro window.

- Click on “Convert” to start the conversion process. Select the destination folder where you want to save the converted PST files or you can make a new folder (say Pst Files) to make it more convenient. Click on “Ok”
-
The conversion process will start, give it a moment to complete. It might take a while depending on the size of your Olm files.
-
And after the conversion is complete you will get a “Conversion Complete” Message. Click on “Ok”
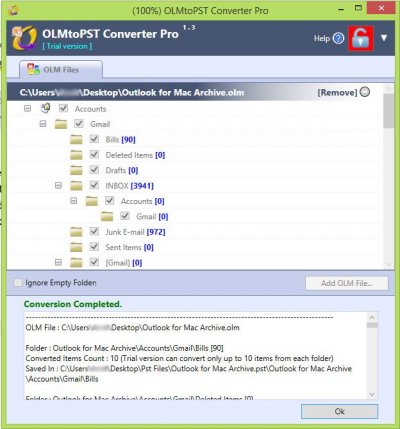
- OLM to PST File conversion is completed.
-
Now open Windows Outlook.
-
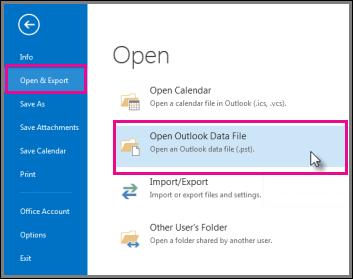
- Click the File tab.
- Click Open and Export, and then click Open Outlook Data File.
- Select the file we just created, and it will open under Outlook and you would be able to browse all your mails.
Special Offers
And you might be one of the 10 Lucky buyers to get upto 50% credit back on your purchase this week.